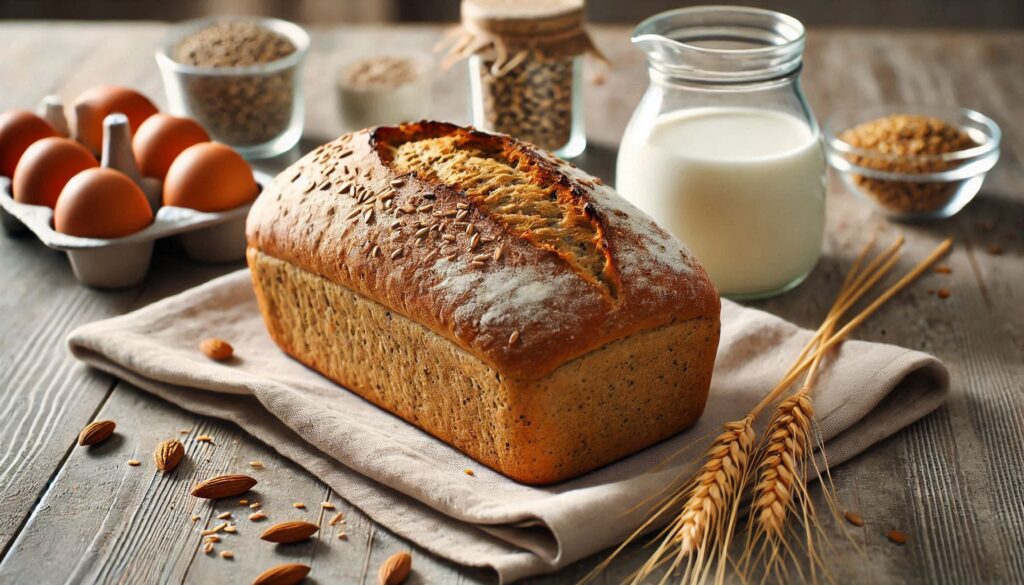
10 Tips For Perfect Gluten-Free Bread Every Time
Getting gluten-free bread just right starts with knowing your ingredients. Not all flours are created equal when it comes to gluten-free baking. You’ve got your basics like almond, rice, and coconut flours, each bringing its own vibe to the table. Almond flour is rich and nutty, perfect for adding moisture, while rice flour keeps things light and not too dense.
Then there’s the crucial role of binding agents, like xanthan gum and psyllium husk, which step in to mimic the elasticity and chewiness that gluten usually provides. A little goes a long way with these guys, so measuring right is key. It’s kinda like magic how they transform the texture!
Speaking of measuring, that’s another biggie. Precision matters. Unlike regular baking, where you sometimes wing it, gluten-free baking demands a bit more care. Measure your flours by weight instead of volume for the best consistency, as packing can totally mess up your ratios.
Mastering the Art of Mixing and Kneading
Mixing and kneading gluten-free dough is its own beast. To start, you really want to pay attention to the dough’s hydration. Gluten-free flours soak up liquid differently, so the dough might look more like a cake batter than bread dough. Resist the urge to add more flour to thicken it—trust me, you’ll be happy you stayed patient once you see the results.
When it comes to mixing, ensuring everything is evenly distributed is key without overworking the dough. Over-mixing can make your bread tough, even without gluten involved. Having the right equipment helps. If you’ve got a stand mixer, it’s a real game-changer, giving you even consistency without wearing out your arms. But if hand mixing is your jam, go for a gentle touch and don’t be afraid to take breaks.
Remember, it’s all about balance. You want the ingredients to be friends, not an overworked chaotic gang. Whether using a mixer or your hands, the goal is a dough that’s well-combined but not too stiff. Get this part down, and you’re on your way to some killer gluten-free bread.
Perfecting the Rise: Fermentation and Proofing
Achieving that perfect rise in gluten-free bread? It’s all in the fermentation and proofing. Without gluten to help trap the gases from the yeast, you gotta be a bit more strategic. Everything comes down to giving your dough the right environment.
Temperature is your silent partner here. A warm, draft-free spot is exactly what your dough wants. Too cool, and it won’t rise. Too hot, and you risk over-fermenting and getting a funky flavor. Somewhere between 75°F and 85°F is the sweet spot. Sometimes your oven with the light on can mimic a perfect proofing box in a pinch.
Pay attention to using yeast properly. While there’s no universal solution, a good rule of thumb is to let the dough double in size during proofing. And yep, that might take longer than usual since gluten-free doughs can be a tad slow on uptake. Be patient!
It’s not just about the rise; it’s about getting the texture right too. I’ve found that letting the dough go for a longer, slower rise often builds a better crumb and flavor profile. This might mean experimenting with your timeline, but it’s totally worth it once you nail that fluffy, airy loaf.
Baking and Storing: Keeping Your Loaf Fresh
Success in baking doesn’t stop at pulling your gluten-free bread out of the oven. The right tools can really make a difference. A good quality loaf pan helps keep the shape, while a thermometer ensures it’s just the right temperature, typically around 200°F at the center, for a thorough bake.
Once your bread is baked to perfection, maintaining its freshness is the next challenge. Gluten-free bread tends to dry out faster than its gluten-laden counterparts. To keep it moist, wrap your loaf in a clean dish towel as it cools, which helps lock in moisture.
When it comes to storage, options matter. If you’re looking to keep it fresh for just a few days, go for an airtight container or ziplock bag at room temperature. For longer preservation, slice the bread and freeze it in individual pieces—you can then toast ’em straight from the freezer when needed.
Reheating plays a big part in making or breaking your gluten-free bread experience. A quick zap in the microwave or brief stint in the oven can bring the softness back. Just avoid letting it sit too long in either to keep it from drying out. With these steps, your gluten-free bread will remain fresh and irresistible, ready to impress at any meal.

